I’ve always wanted to build my own computer from the circuit up; so inspired by Steve Ciarcia’s Build Your Own Z-80 Computer and my success building a computer from CMOS Logic I thought it was time to have a go! Most of the components are no longer available, but the Z-80 CPU itself is still in production. So with a bit of re-designing it should be easy to build a computer following Ciarcia’s design.
First up: the power supply. It’s a simple design based around a 7805 regulator that takes a 9V supply from an old transformer and reduces it to a regulated 5V supply, with a maximum current of 1A.
Second: the clock. The Z-80 is available today at speeds of up to 33Mhz, but I bought a 4Mhz version. I’m not trying to replicate a vintage computer, it’s just an educational project, but it should be fast enough for any machine code I’ll write for it and slow enough to avoid any timing issues.
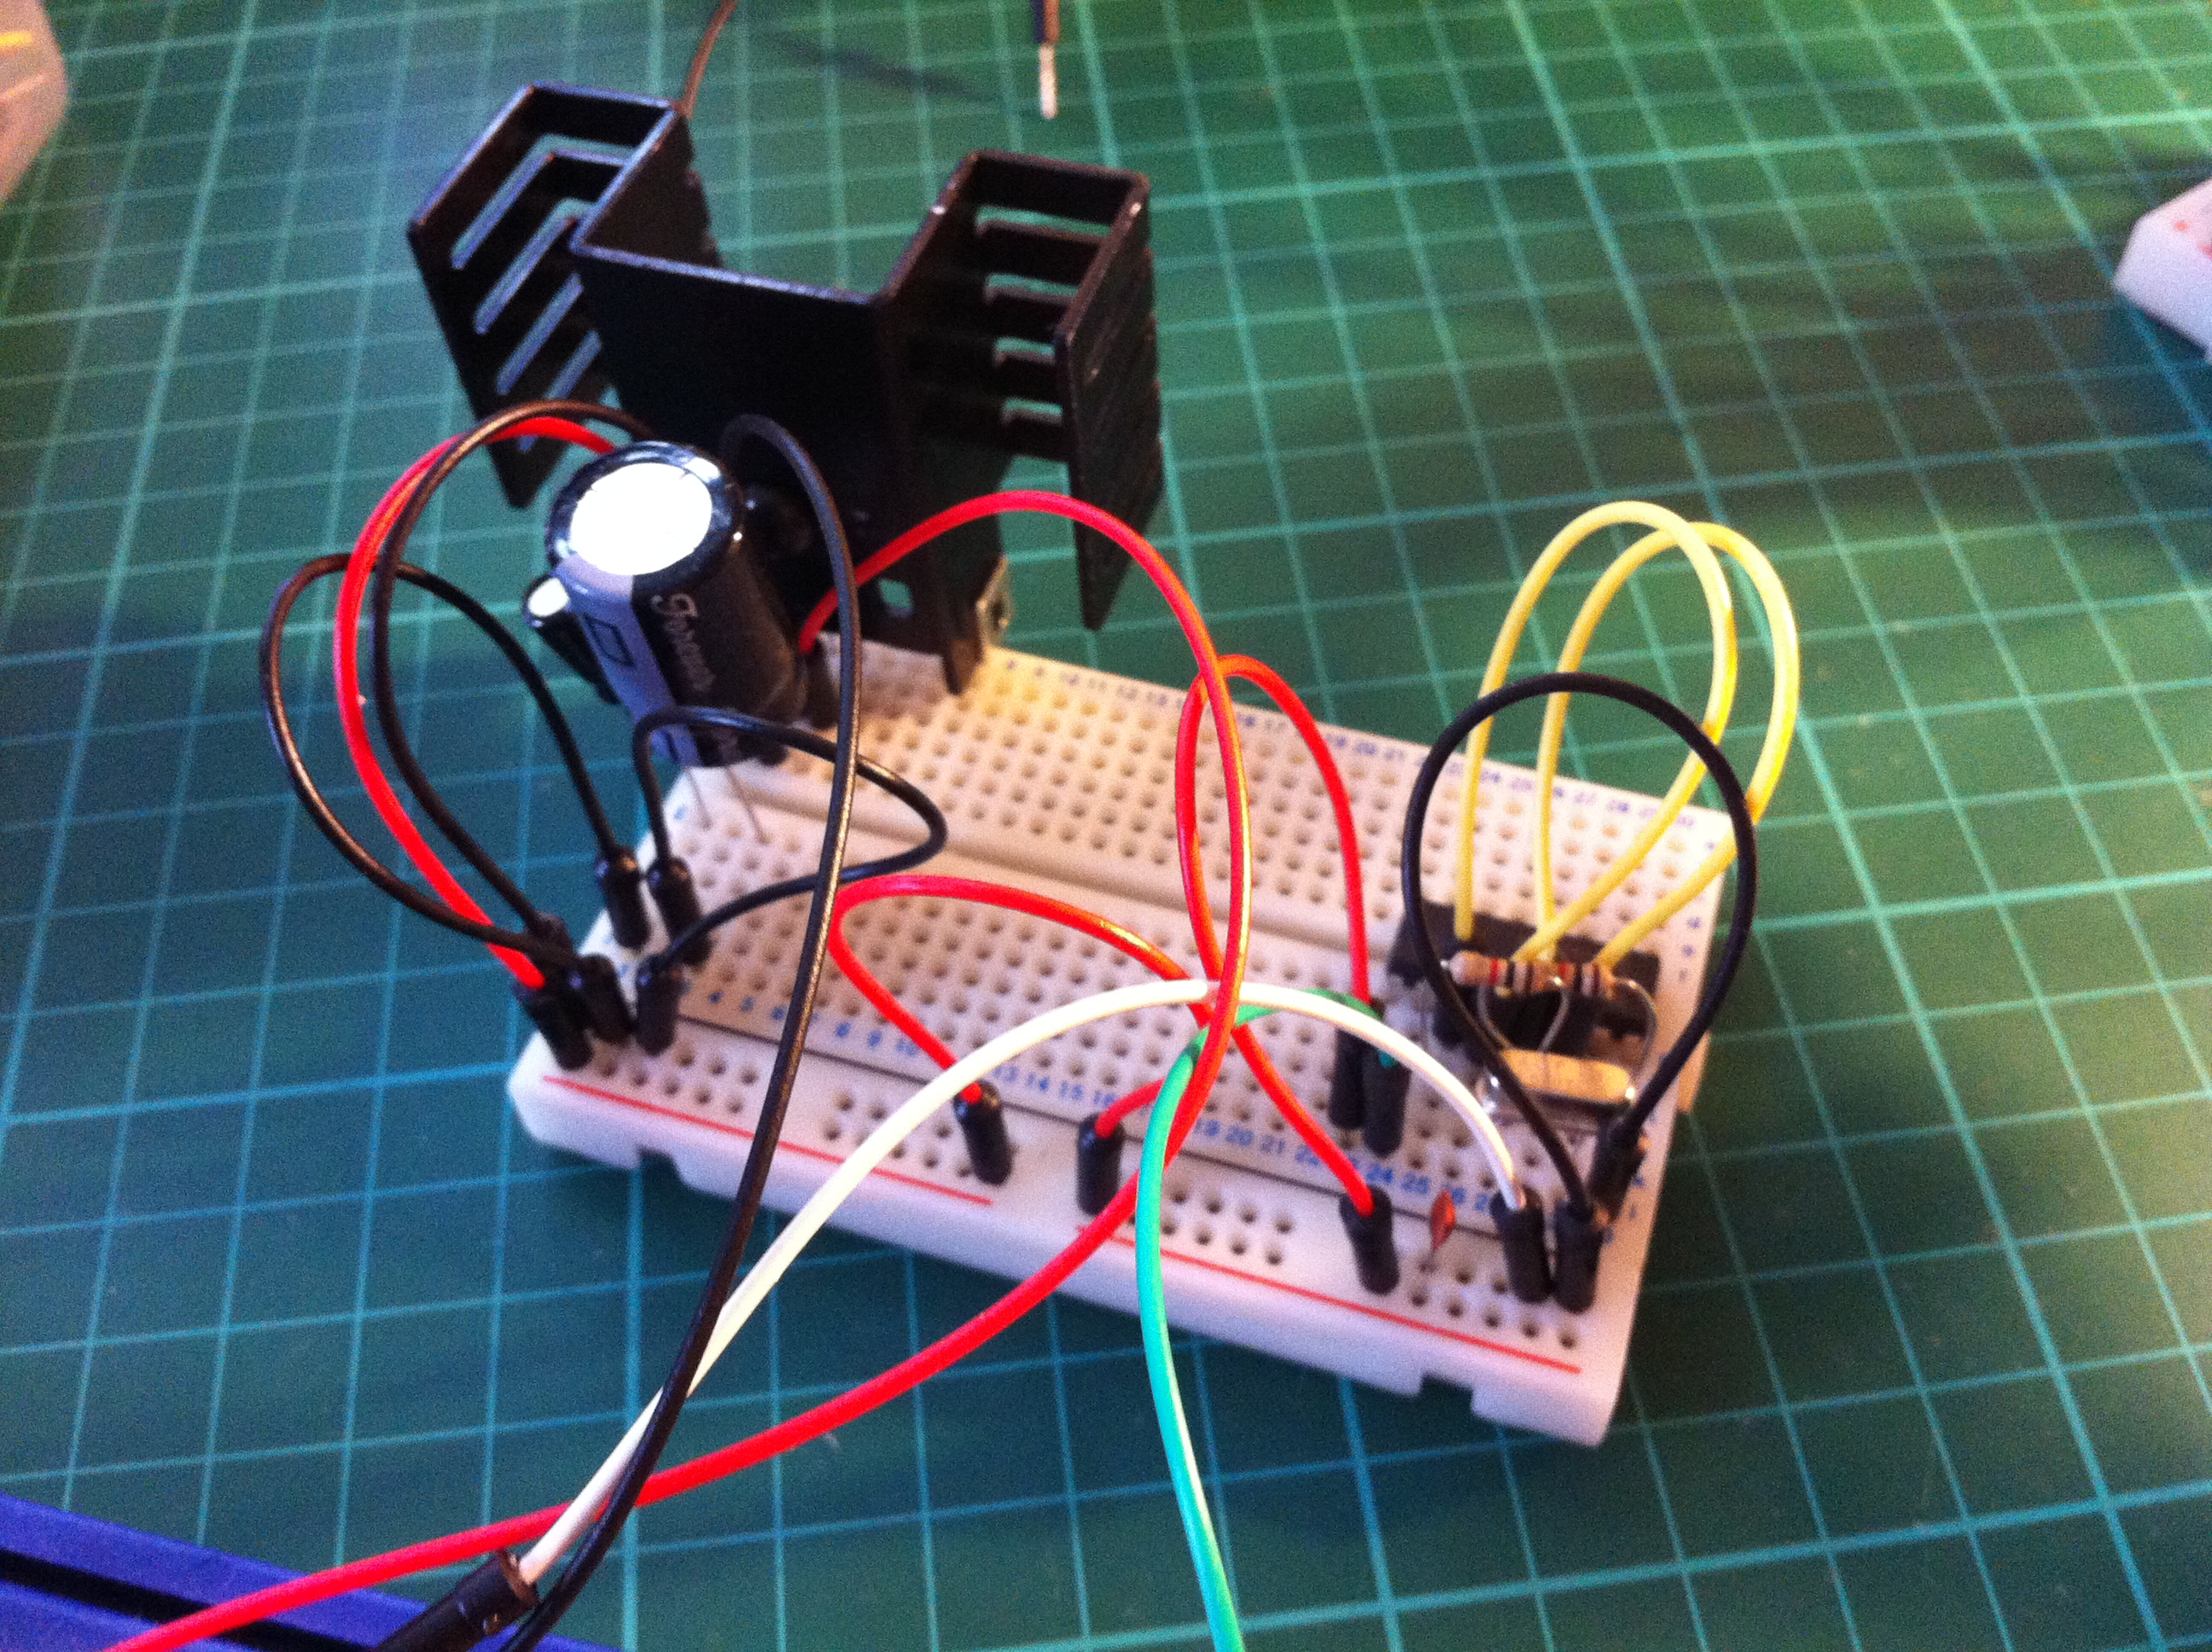
I’ve left them on breadboard for the time being; I don’t know how I will lay out the completed project yet.
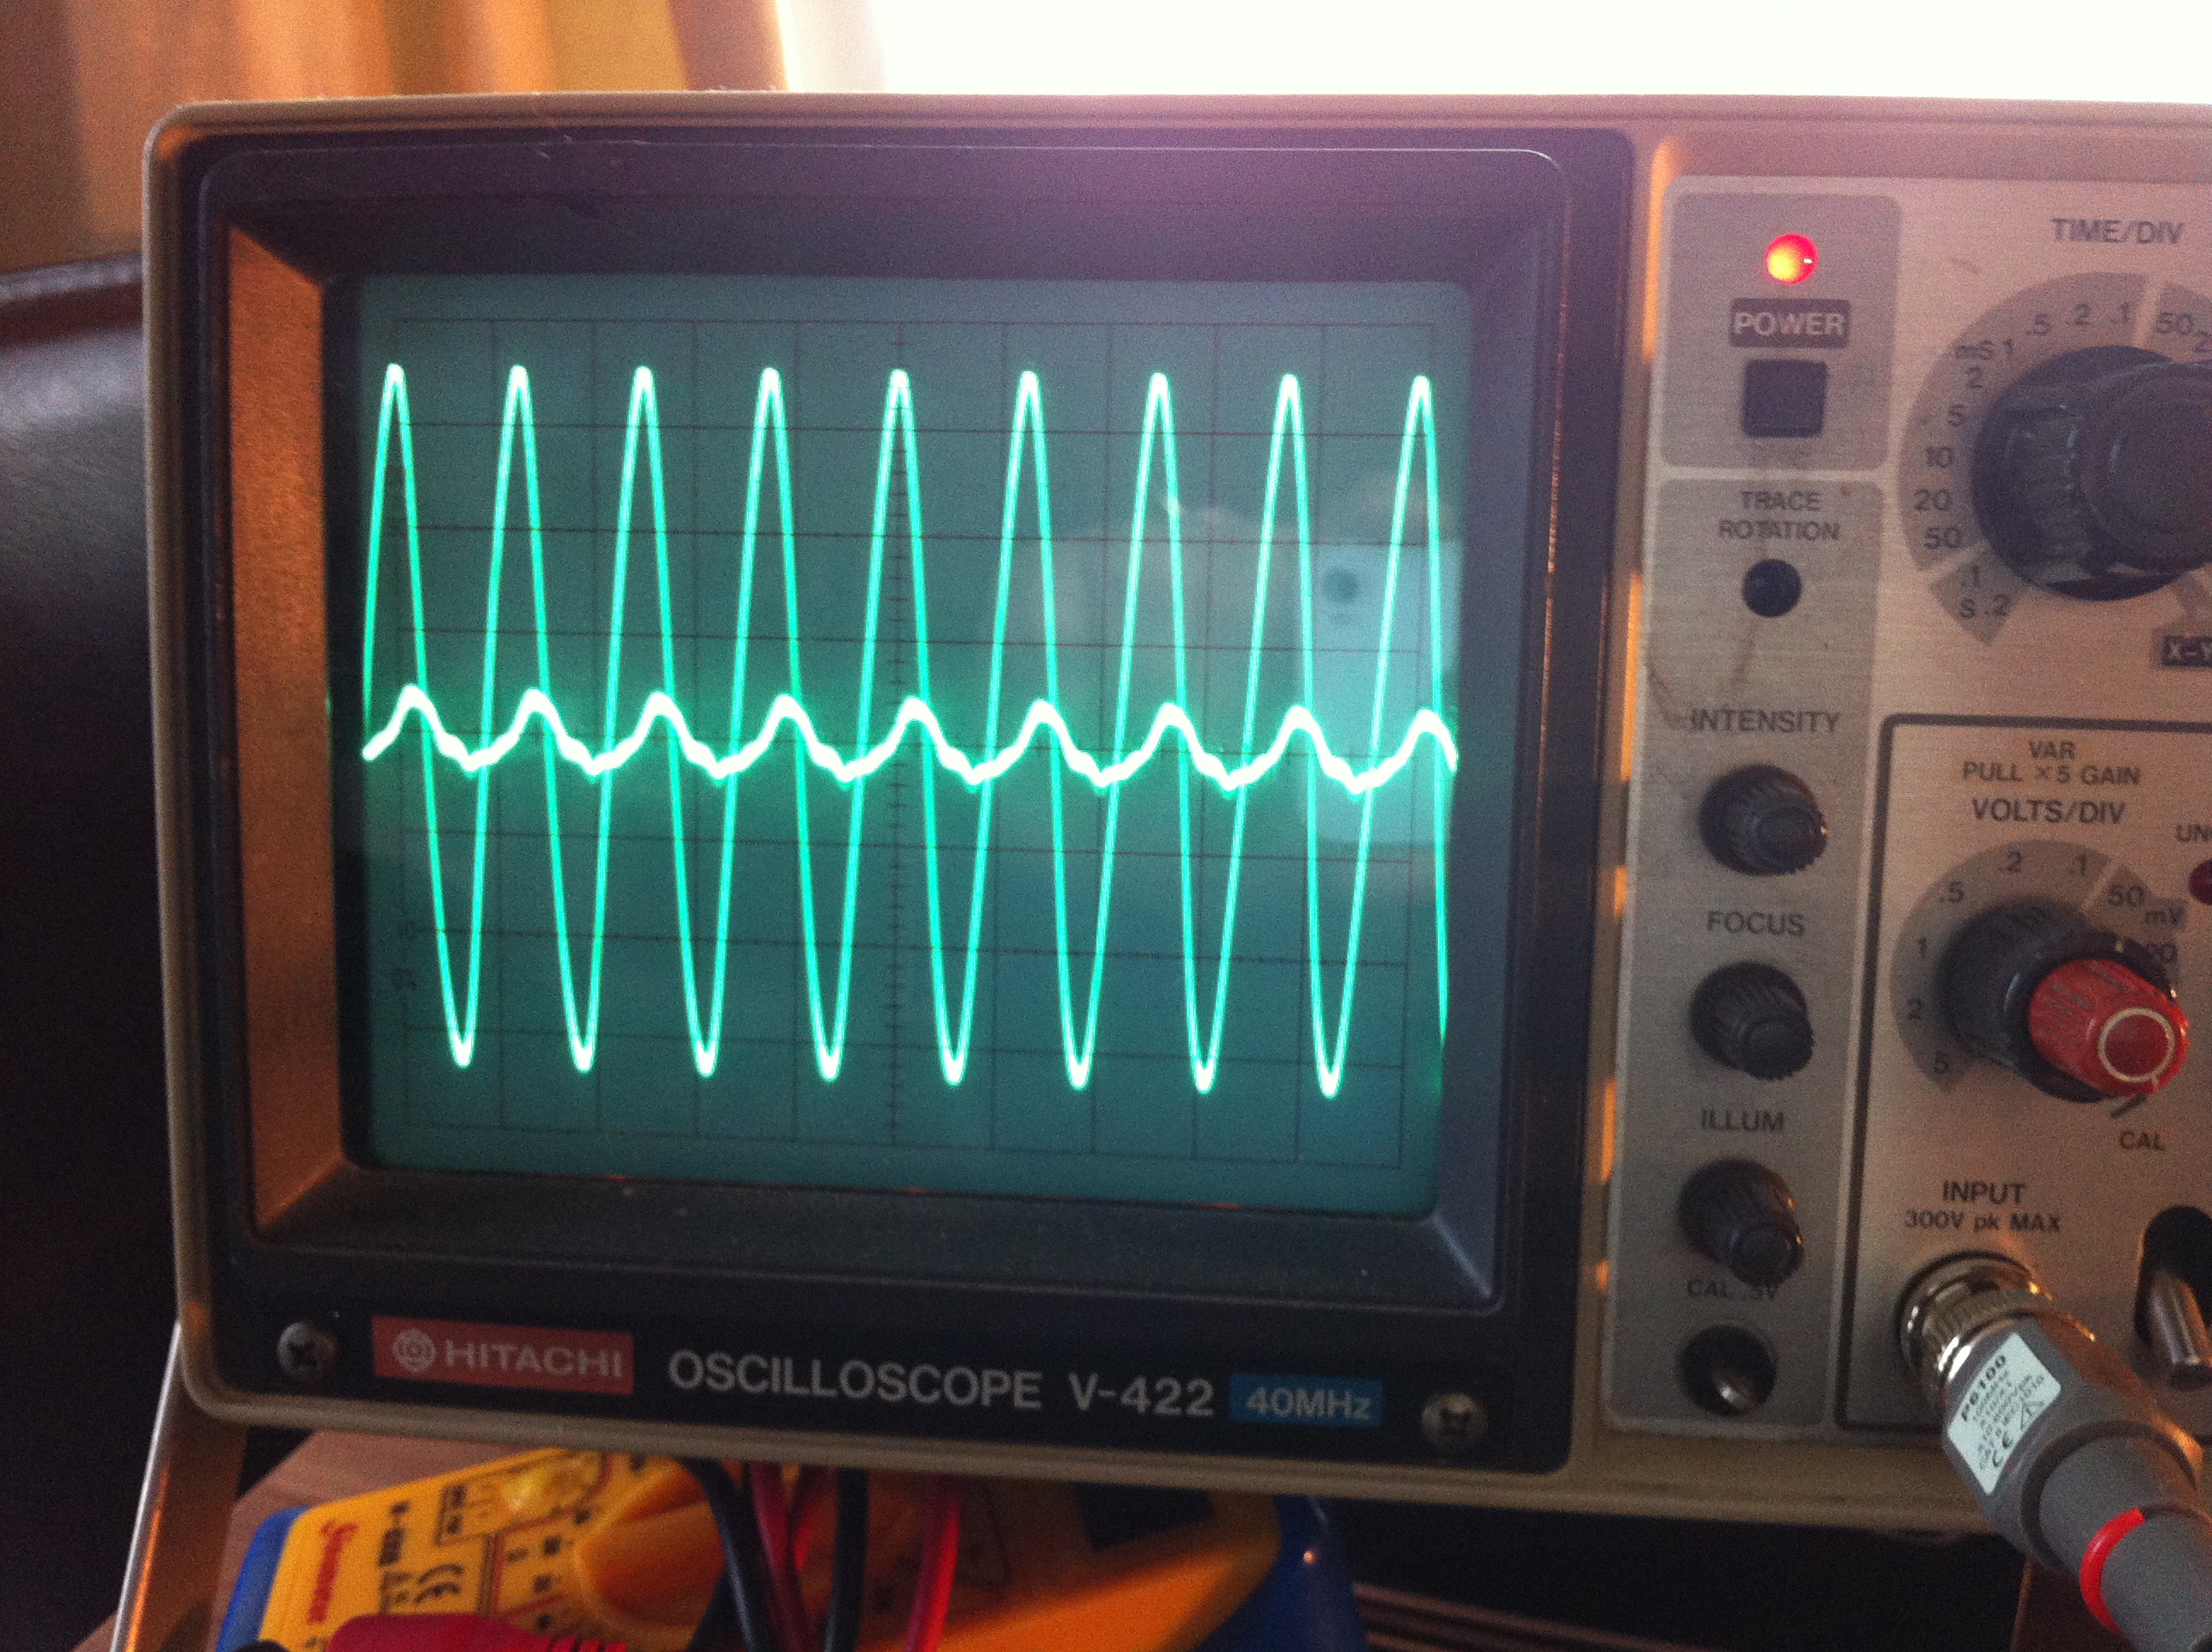
Using an oscilloscope it’s possible to see the clock signal.

Connecting the power supply to the second oscilloscope channel shows how it is affected by the clock. The scale is very high (.1v per division) but demonstrates the need for decoupling capacitors very well. I’m using a 0.01 and 0.001 uF.
Next: The I/O!